

Creating a Game
Tap the ”+” button on the Events screen to open the game creation wizard.
Page 1 – Game Details
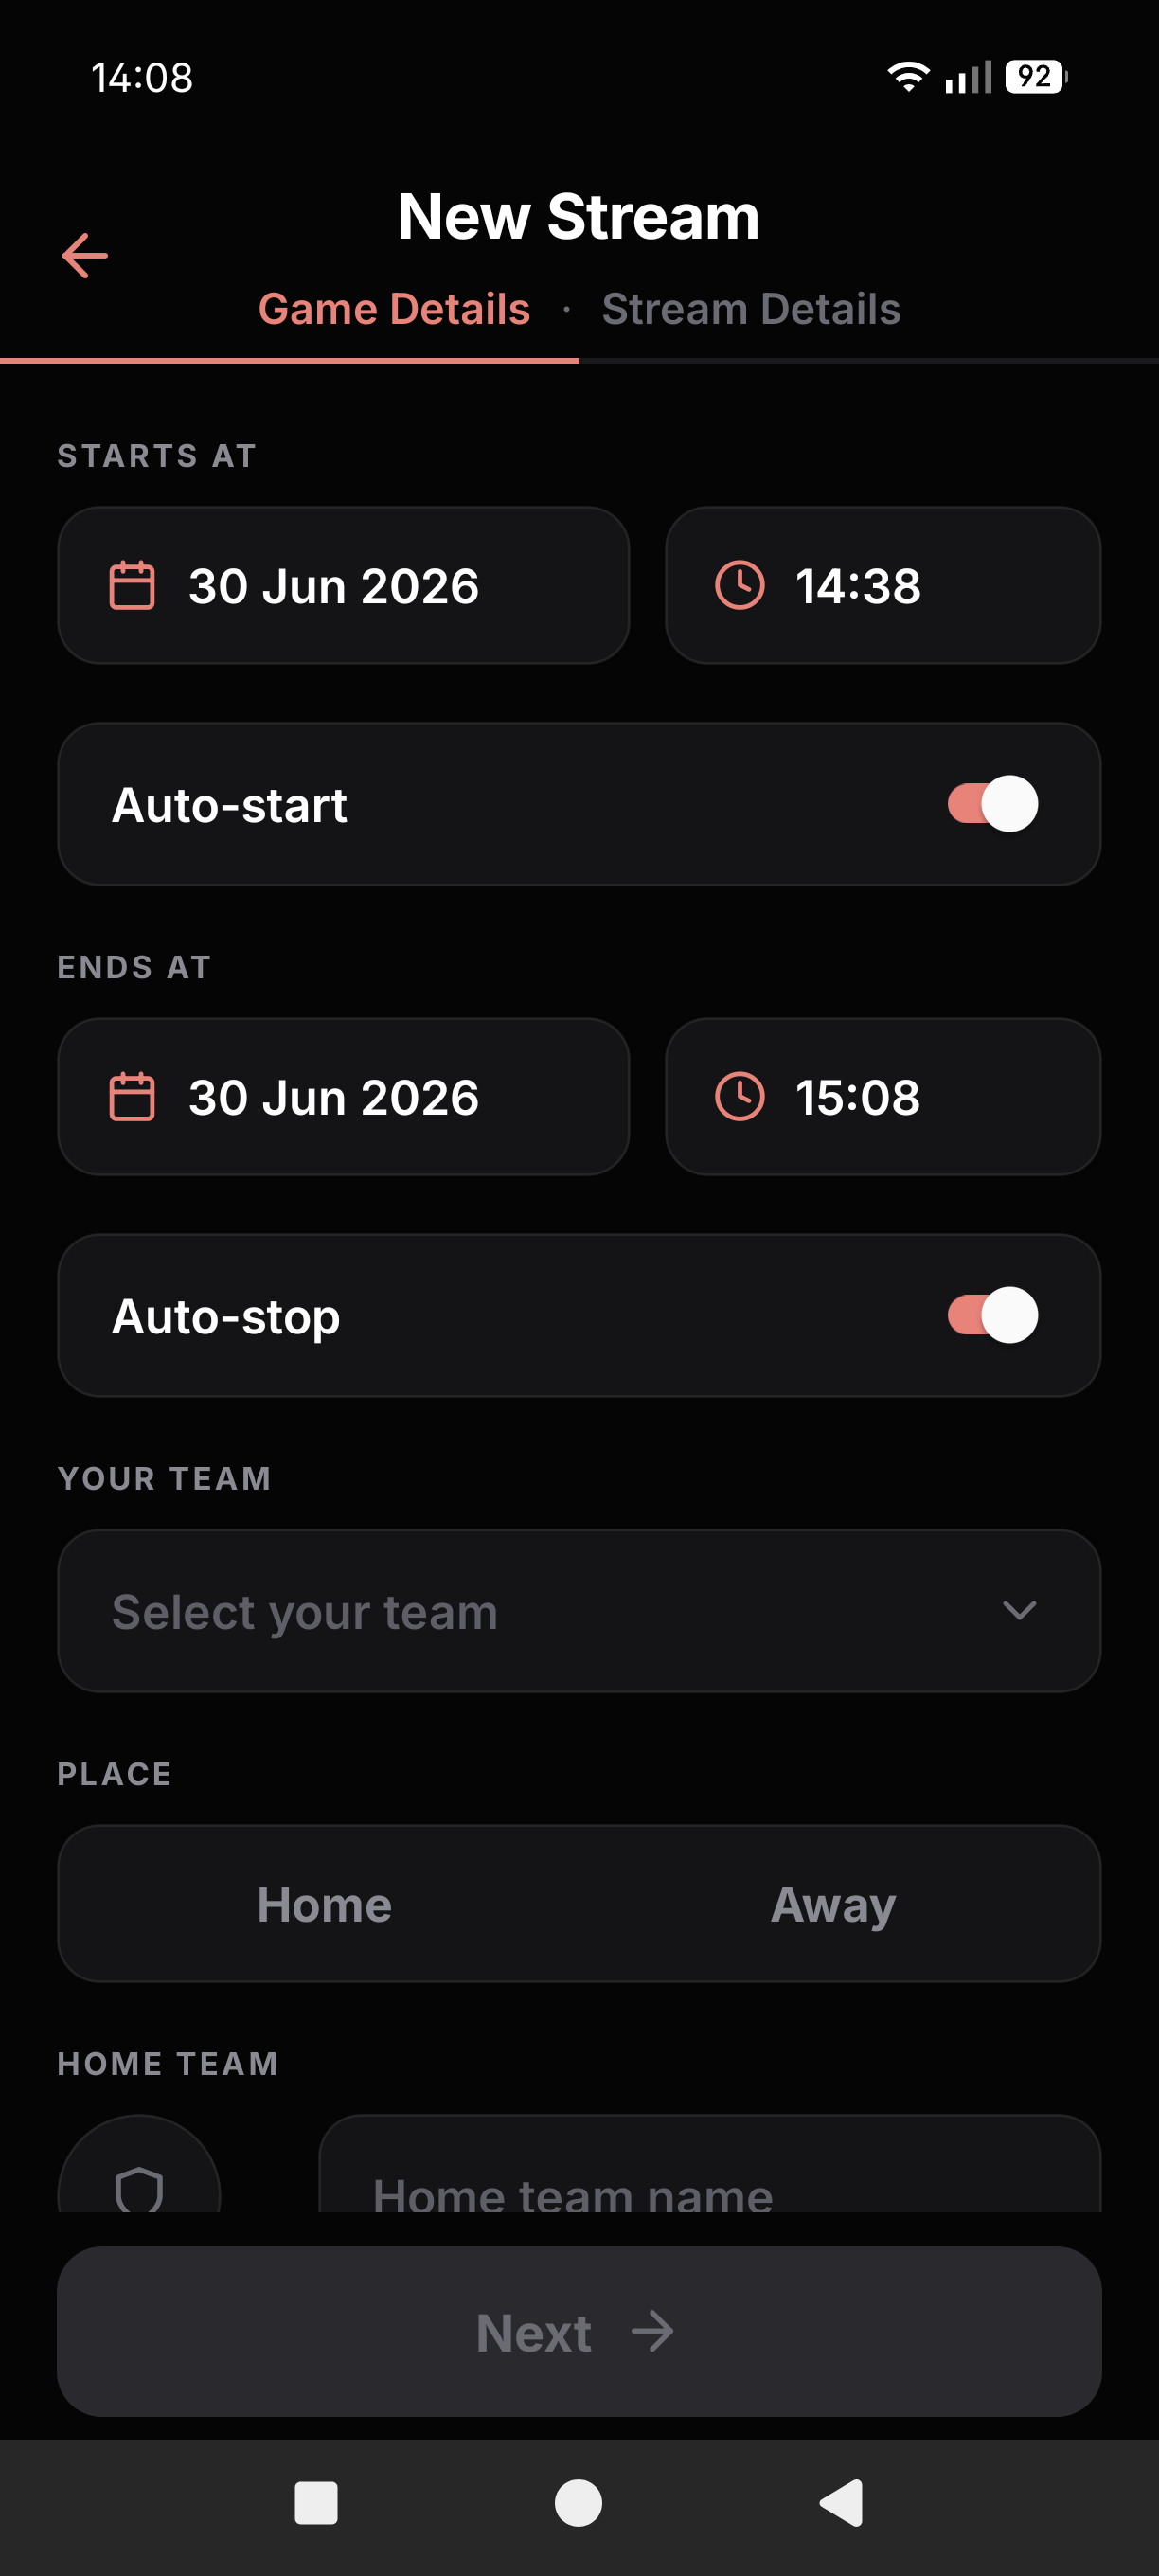
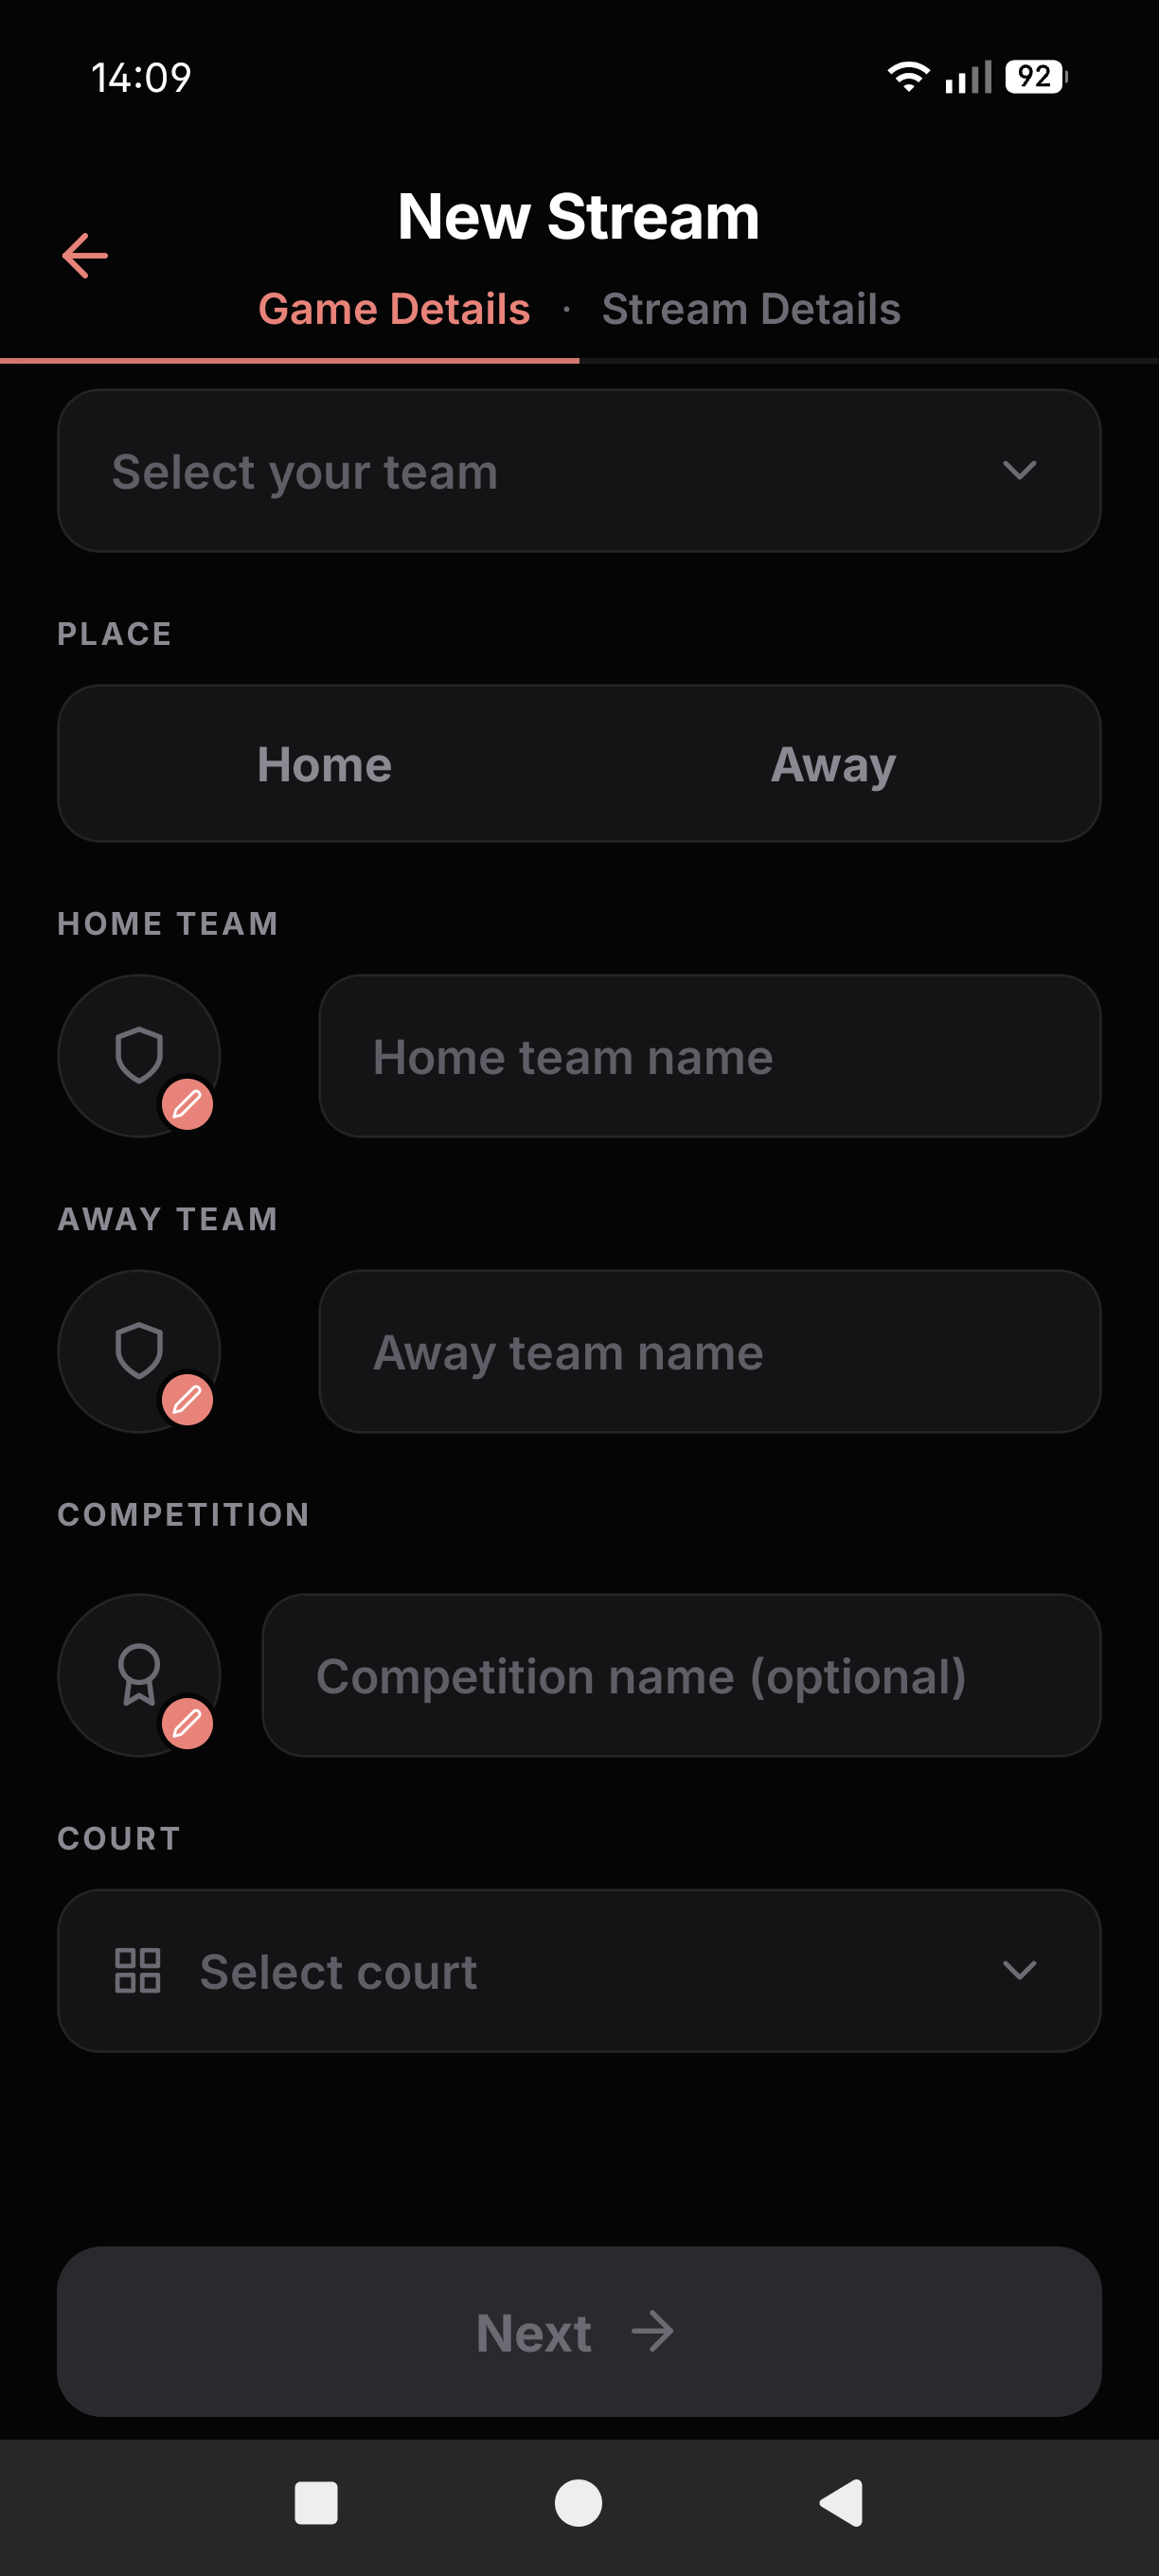
Section titled “Page 1 – Game Details”Enter the teams, competition, court, and date & time for the game.
- Auto-Start / Auto-Stop: When enabled, the stream automatically starts and stops at the scheduled start and end time.
For a Practice event, only the date & time, your team, and court are needed; the team, competition, and Auto-Start/Auto-Stop fields don’t apply.
Tap Next to proceed to stream configuration.
Page 2 – Stream Details
Section titled “Page 2 – Stream Details”- Record or Livestream: Choose to simply record the game (and download the recording afterwards), or record and livestream it at the same time.
- When livestreaming, choose where it goes: your organization’s YouTube channel (if set up), any YouTube channel via its stream key, or any RTMP destination you want.
- Regardless of the option chosen, you can also stream to a second destination at the same time. To do that, click ”+ Add extra stream key URI” and enter the stream key or RTMP URL there.
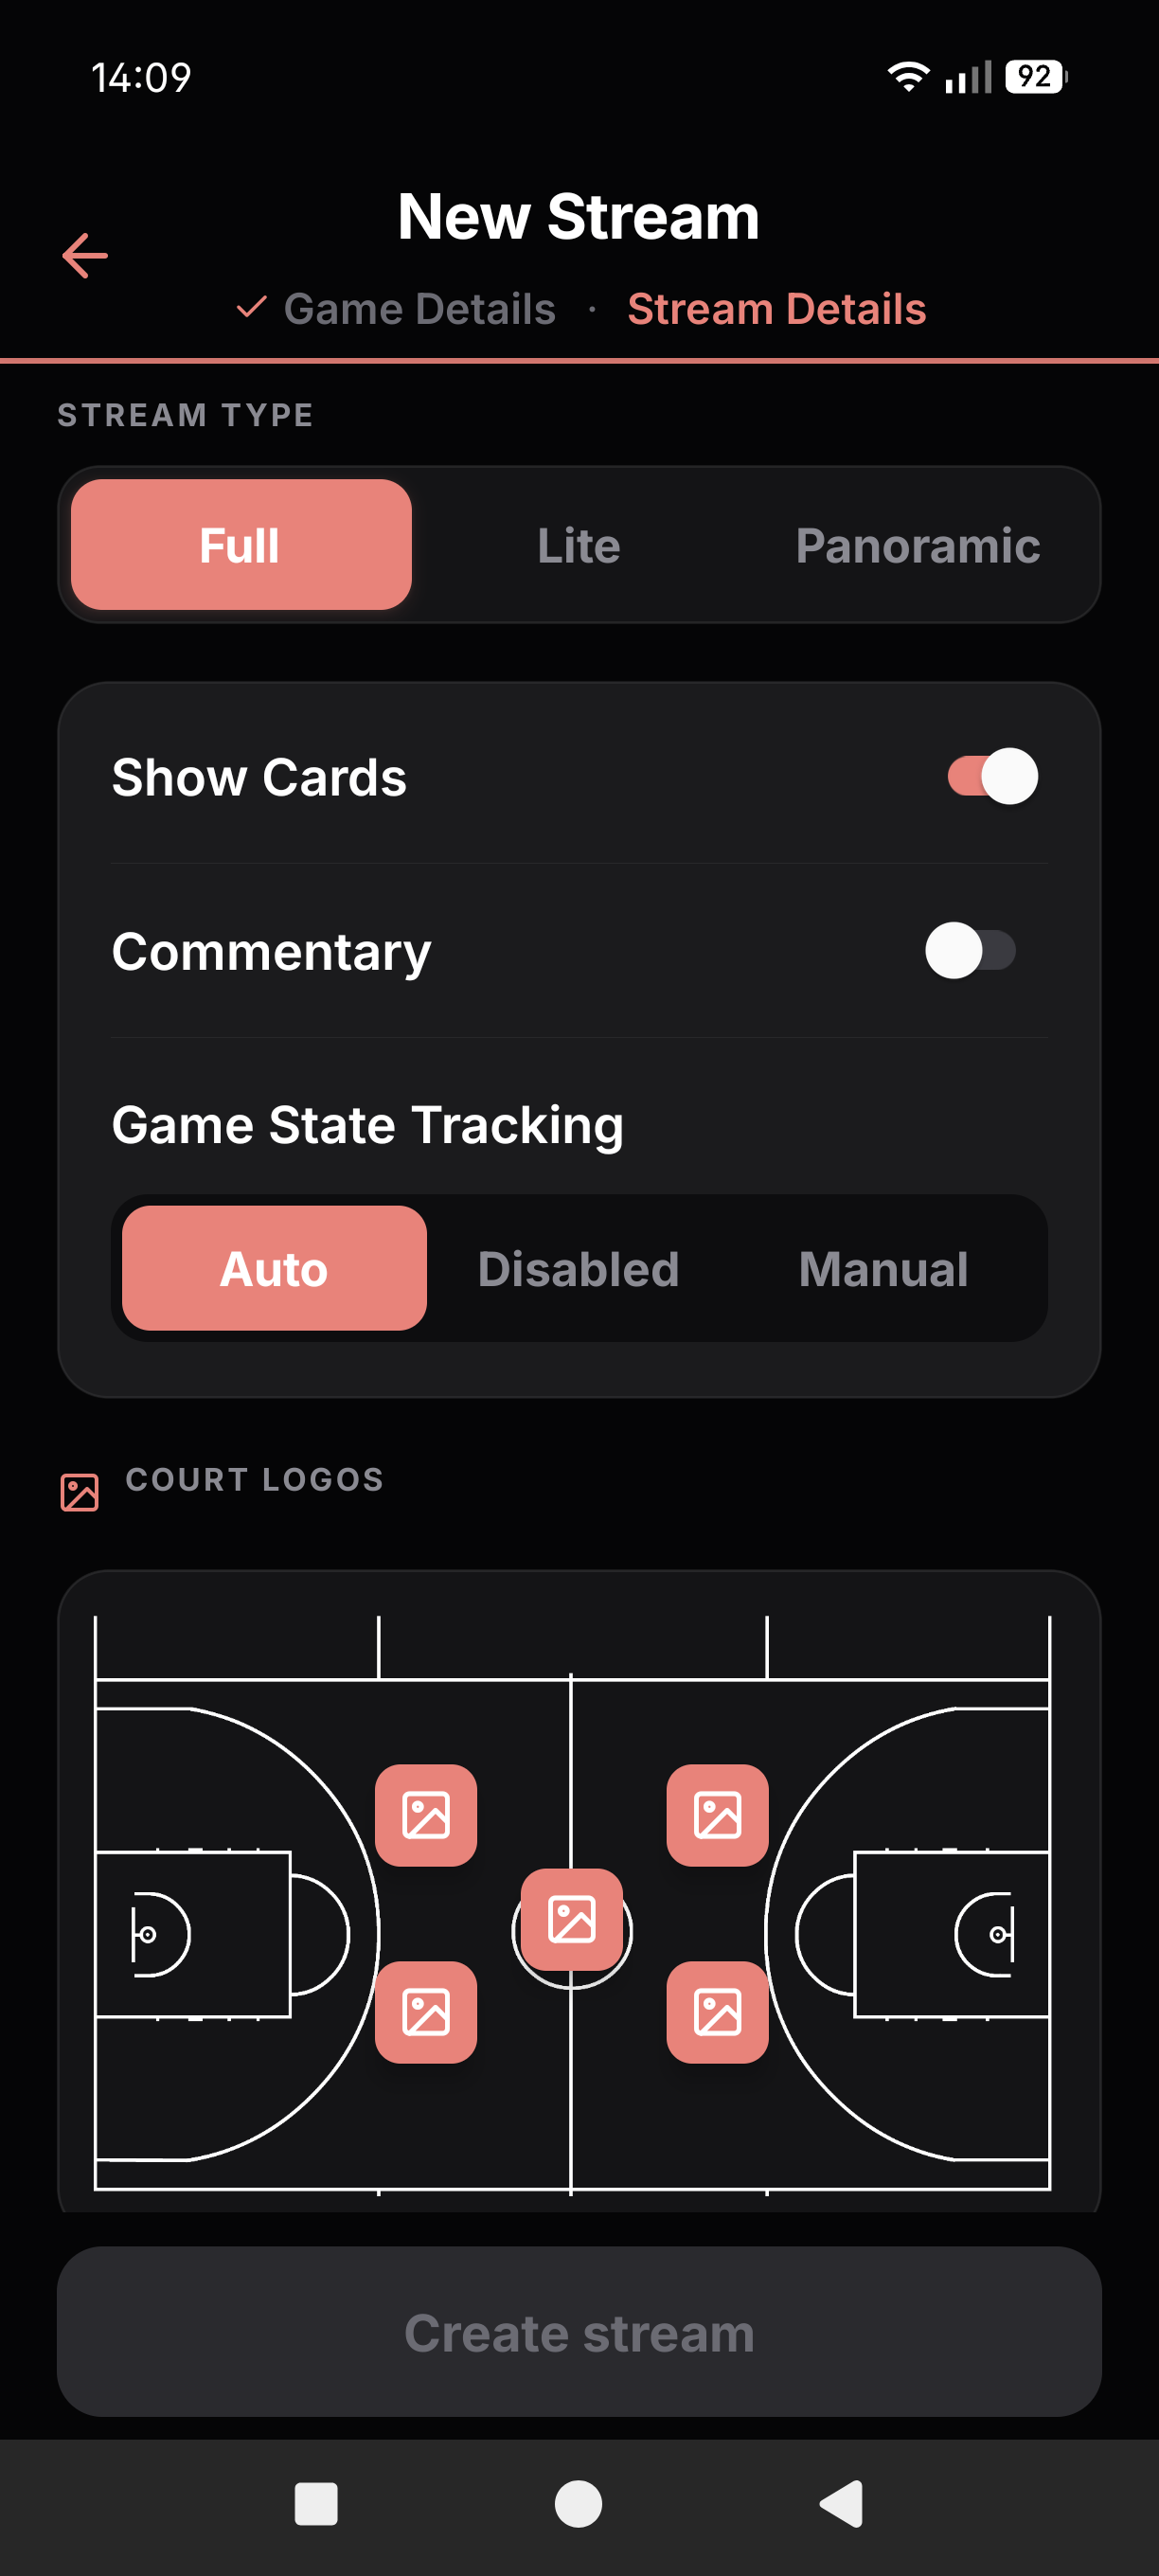
- Stream Type: Choose between Lite, Plus and Pro (see Streaming Tiers). Plus and Pro additionally include score cards, so you’ll also be asked to configure those.
- Autofollow: When enabled, the stream follows the action on the court; when disabled, the camera zooms out to cover the whole court.
- Studio Operator (Pro tier): Assign the organization member who will commentate this game with Studio.
- Local commentary (Pro tier): Toggle on to take commentary from a microphone at the venue, plugged into the camera, instead of the camera’s ambient audio.
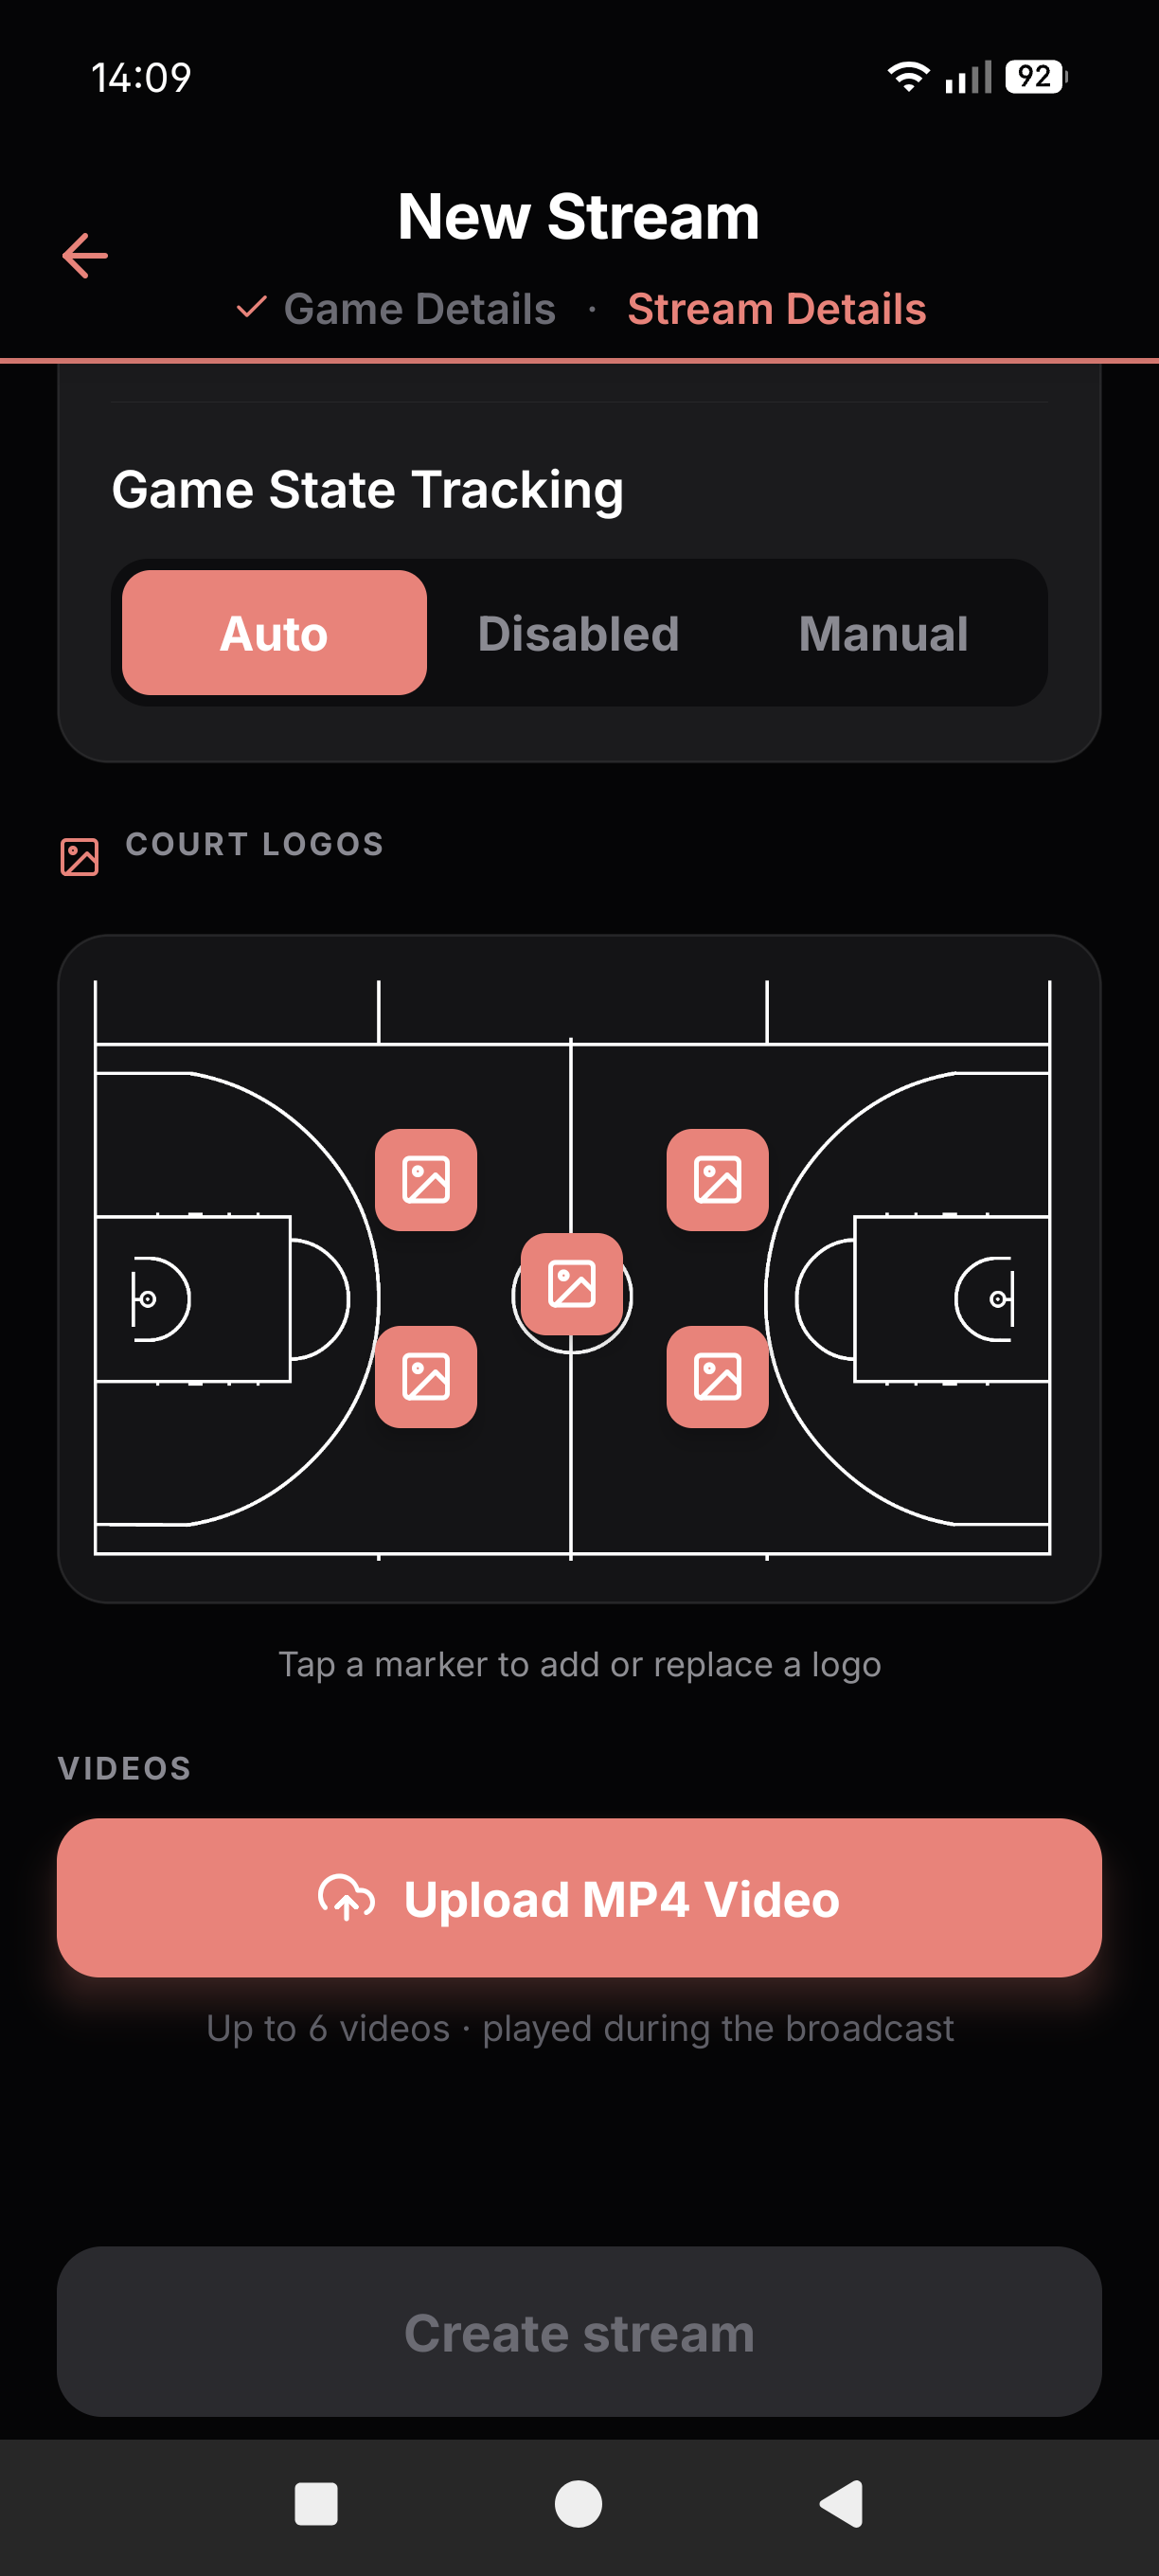
- Court Logos & Video Ads: Tap the icons on the court diagram to choose which logos to display at each position. On a Pro stream you can also upload up to 6 video ads to play during breaks. Videos need an audio stream (it can be silent).
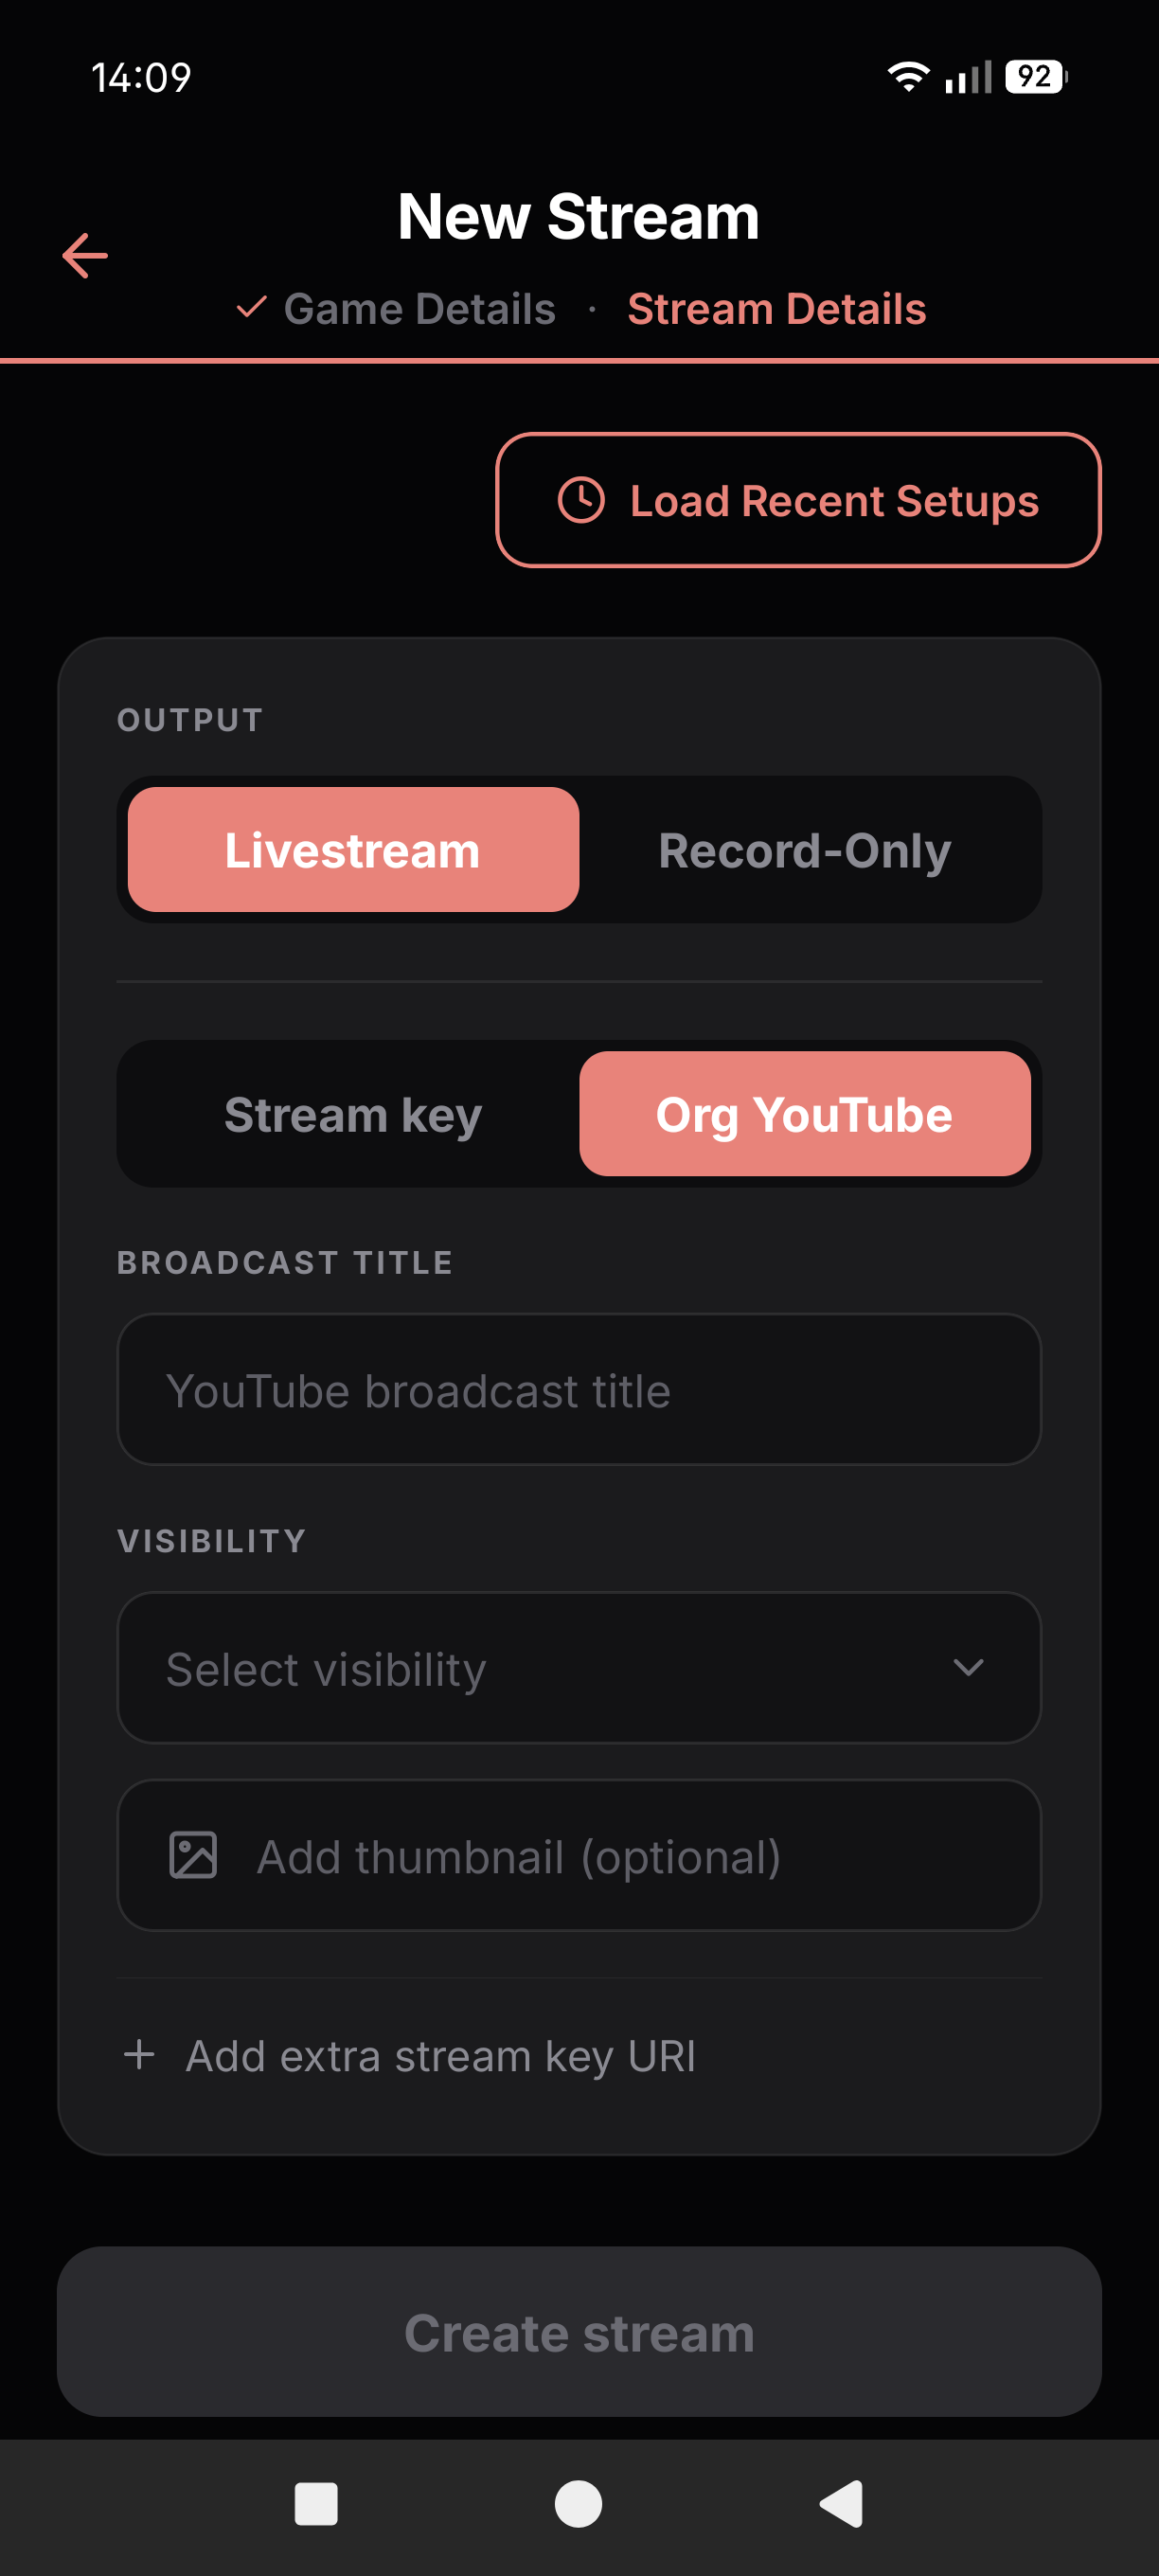
Tap Load Recent Setups to load your settings from a previous game.
Tap Create Stream to save the event. It will appear in your Events list.