
Managing Streams
Starting a Stream
Section titled “Starting a Stream”Tap the event in the Events list to open the event details screen.
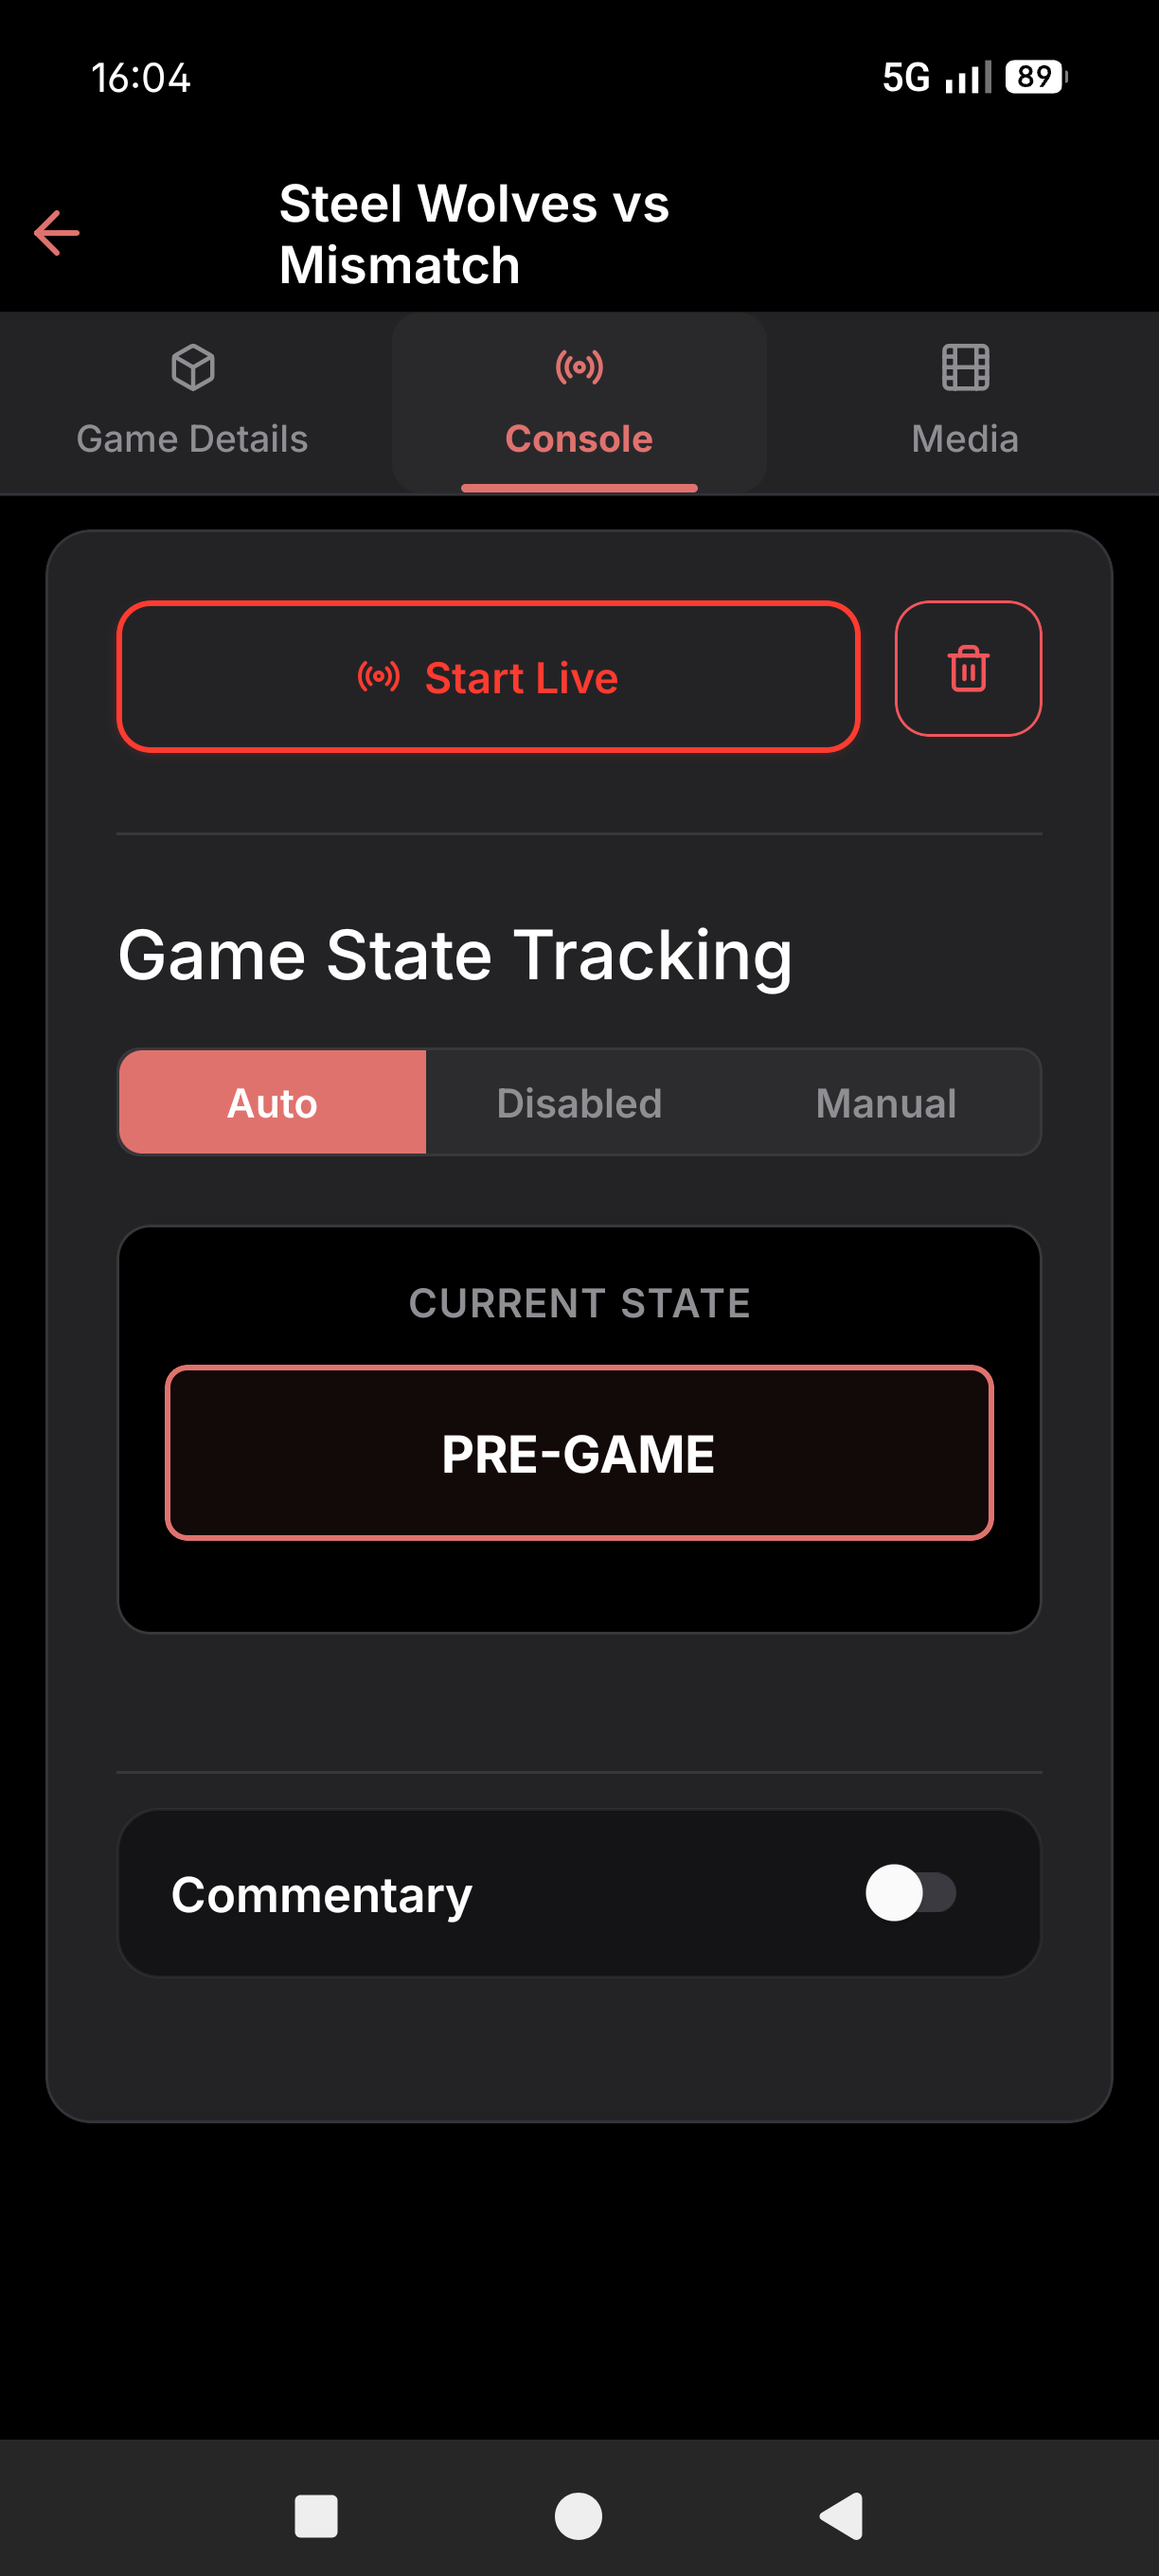
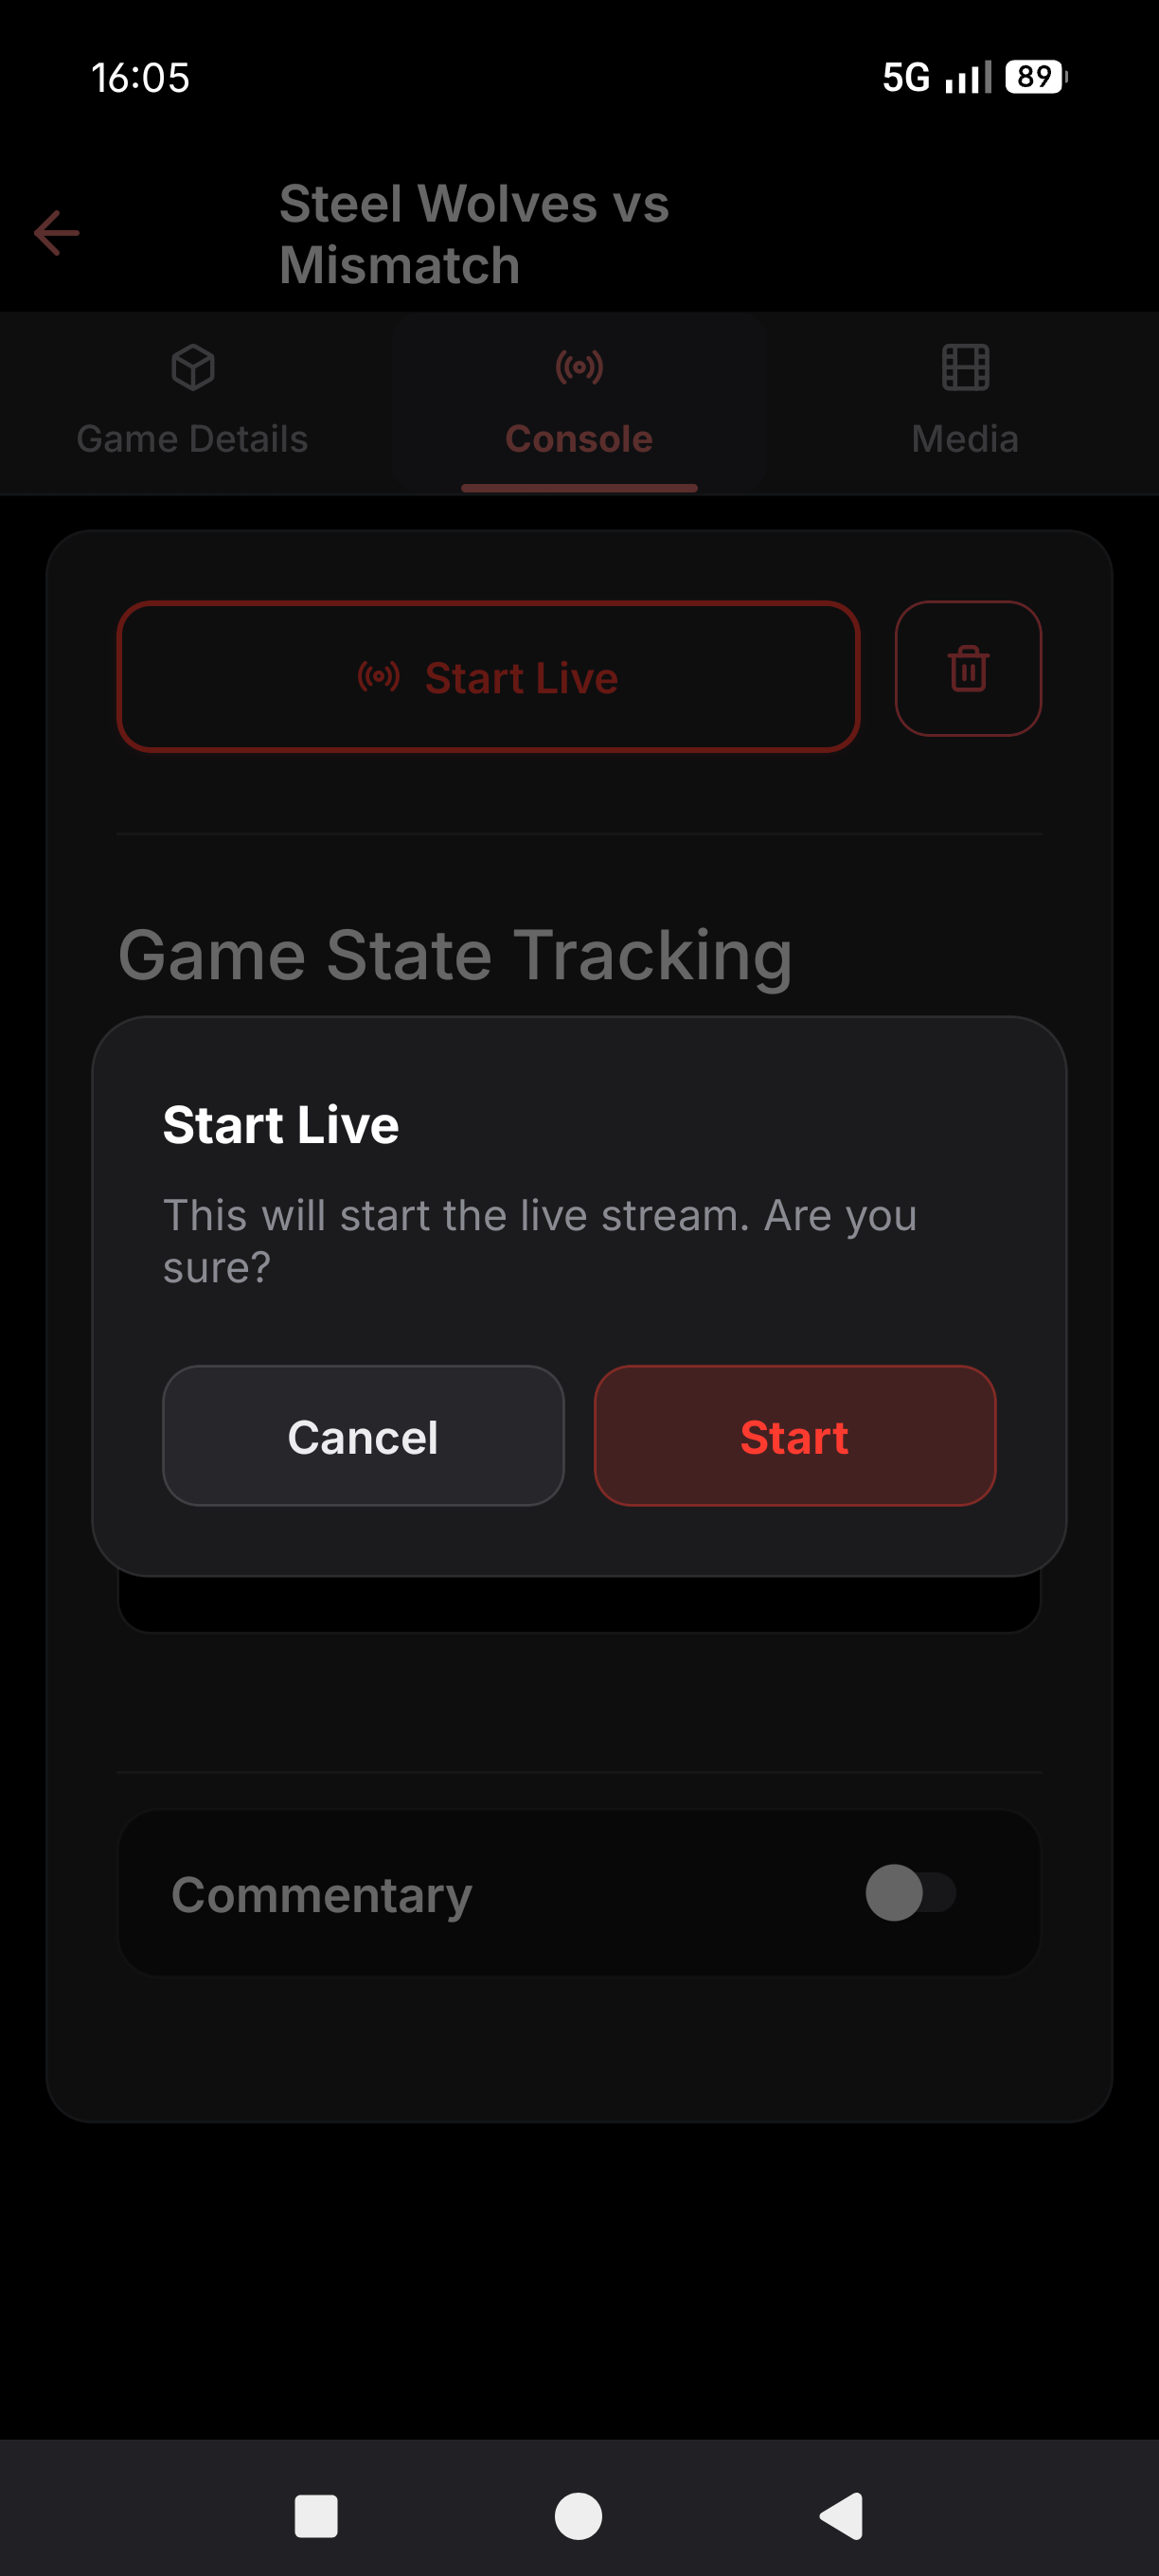
Tap “Start Live” in the Console tab and confirm when prompted. Initialization takes approximately 5 minutes, after which the stream goes live automatically.
Live Controls
Section titled “Live Controls”Once the stream is active, all controls are available in the Console tab.
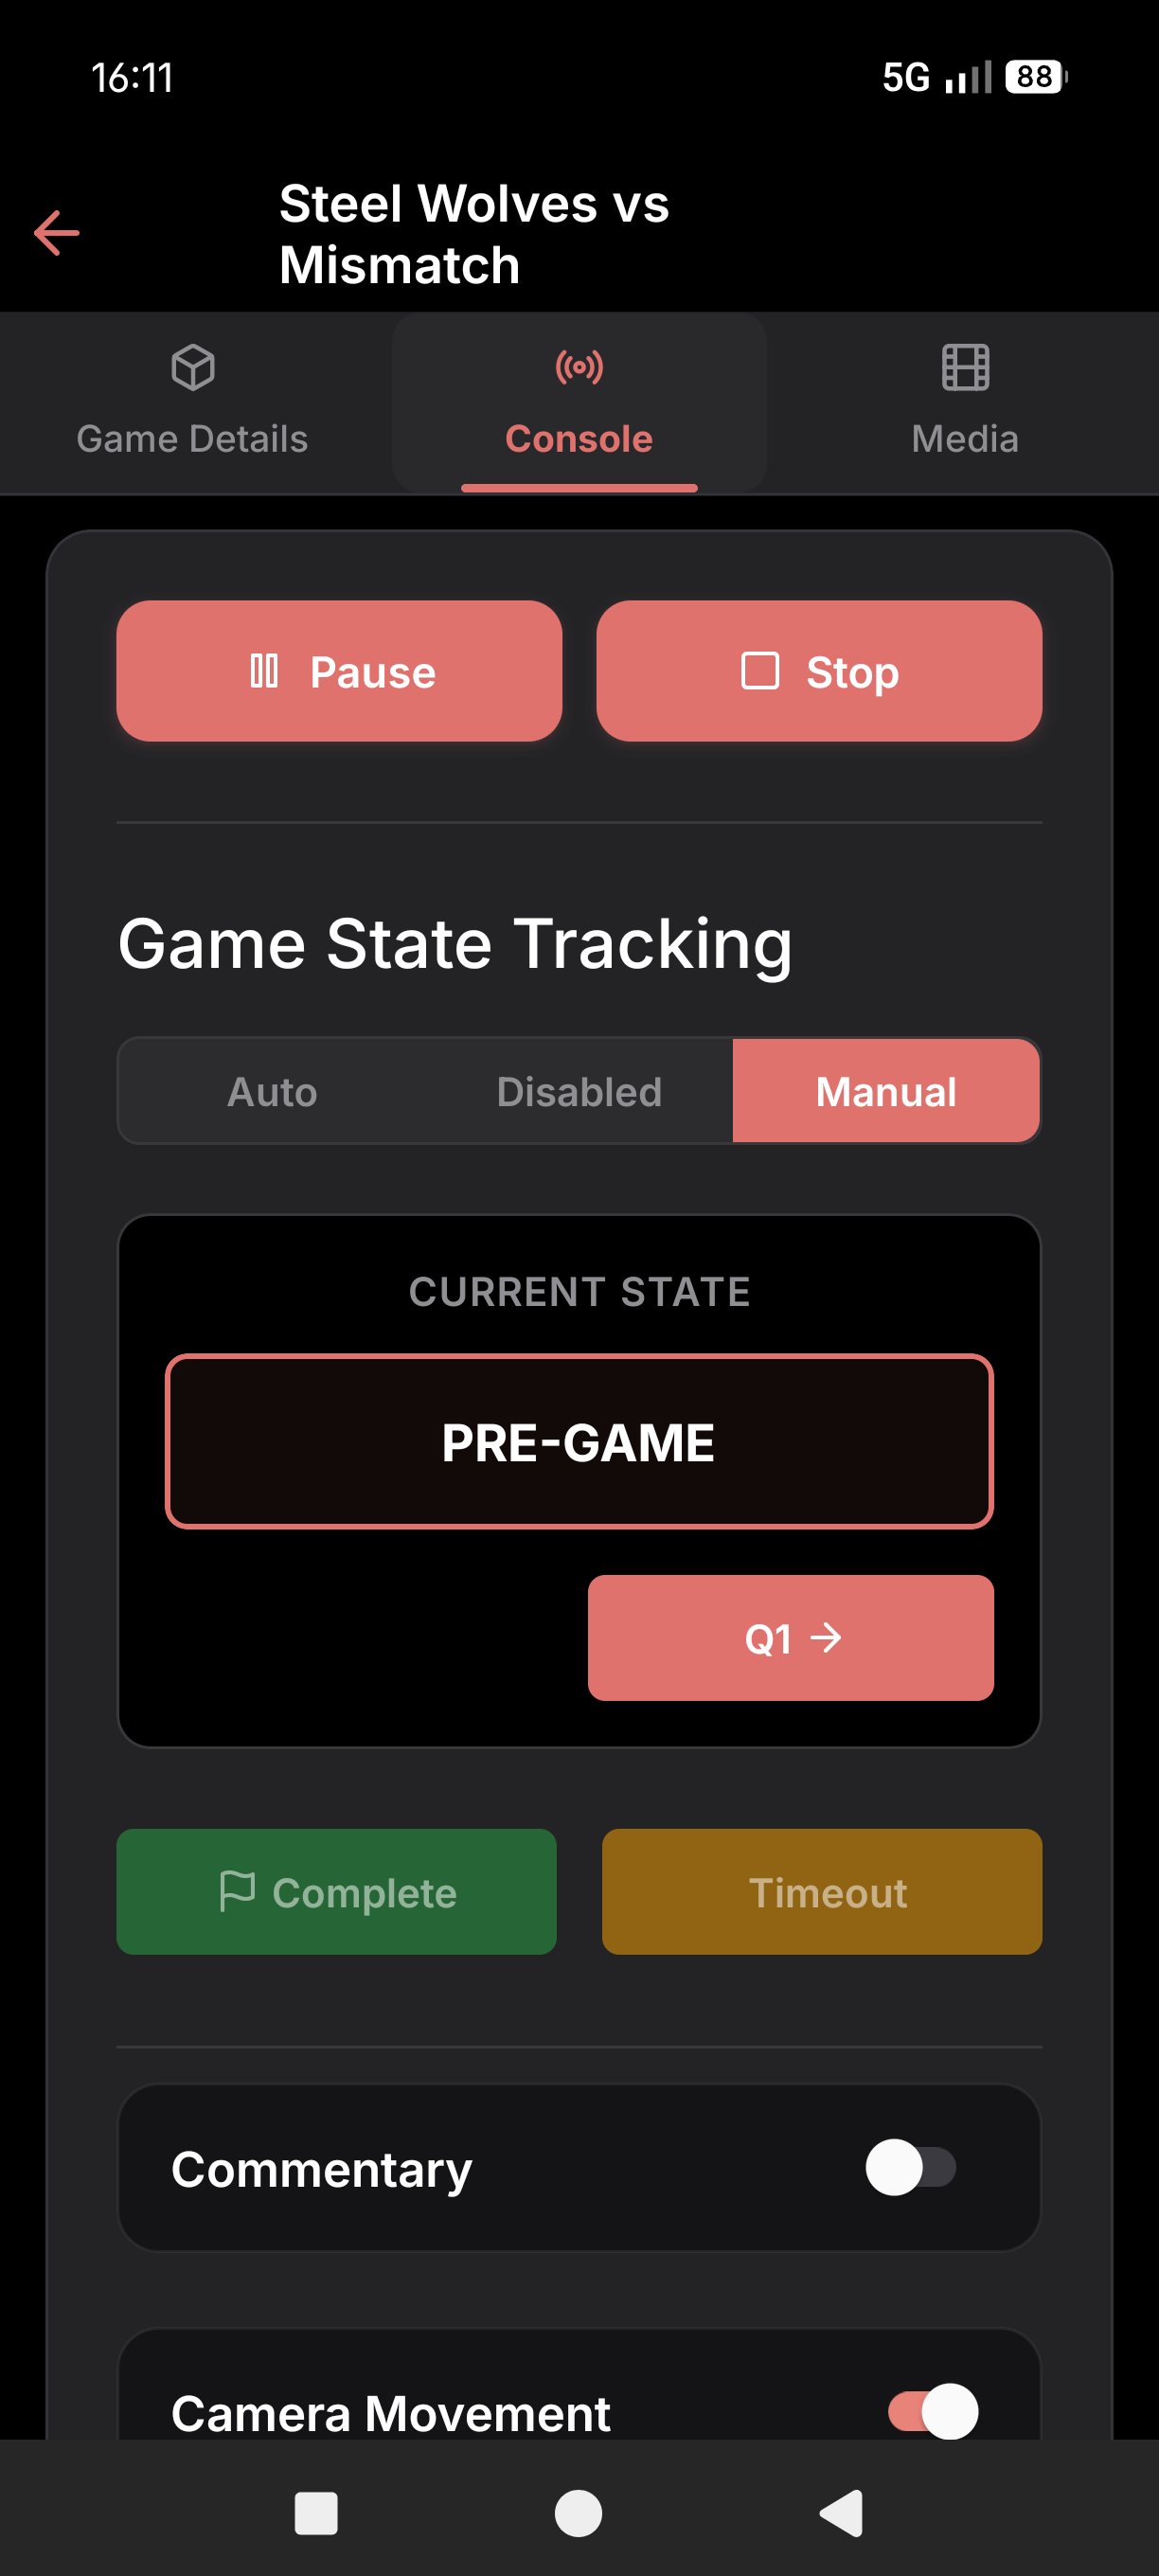
Available controls:
- Local commentary toggle: (Pro streams only) Switch between ambient (camera mic) and local commentary (external mic) audio
- Advertisement videos: (Pro streams only) Tap the Play button next to any uploaded video to switch the feed to that sponsor video; playback returns to the game feed automatically when it ends
- Autofollow: When enabled, the stream follows the action on the court; when disabled, the camera zooms out to cover the whole court
- Pause/Resume: Pauses/resumes the stream
- Stop: Ends the stream
- Studio operator (Pro streams only): View or reassign who is commentating this game with Studio
Editing During Stream
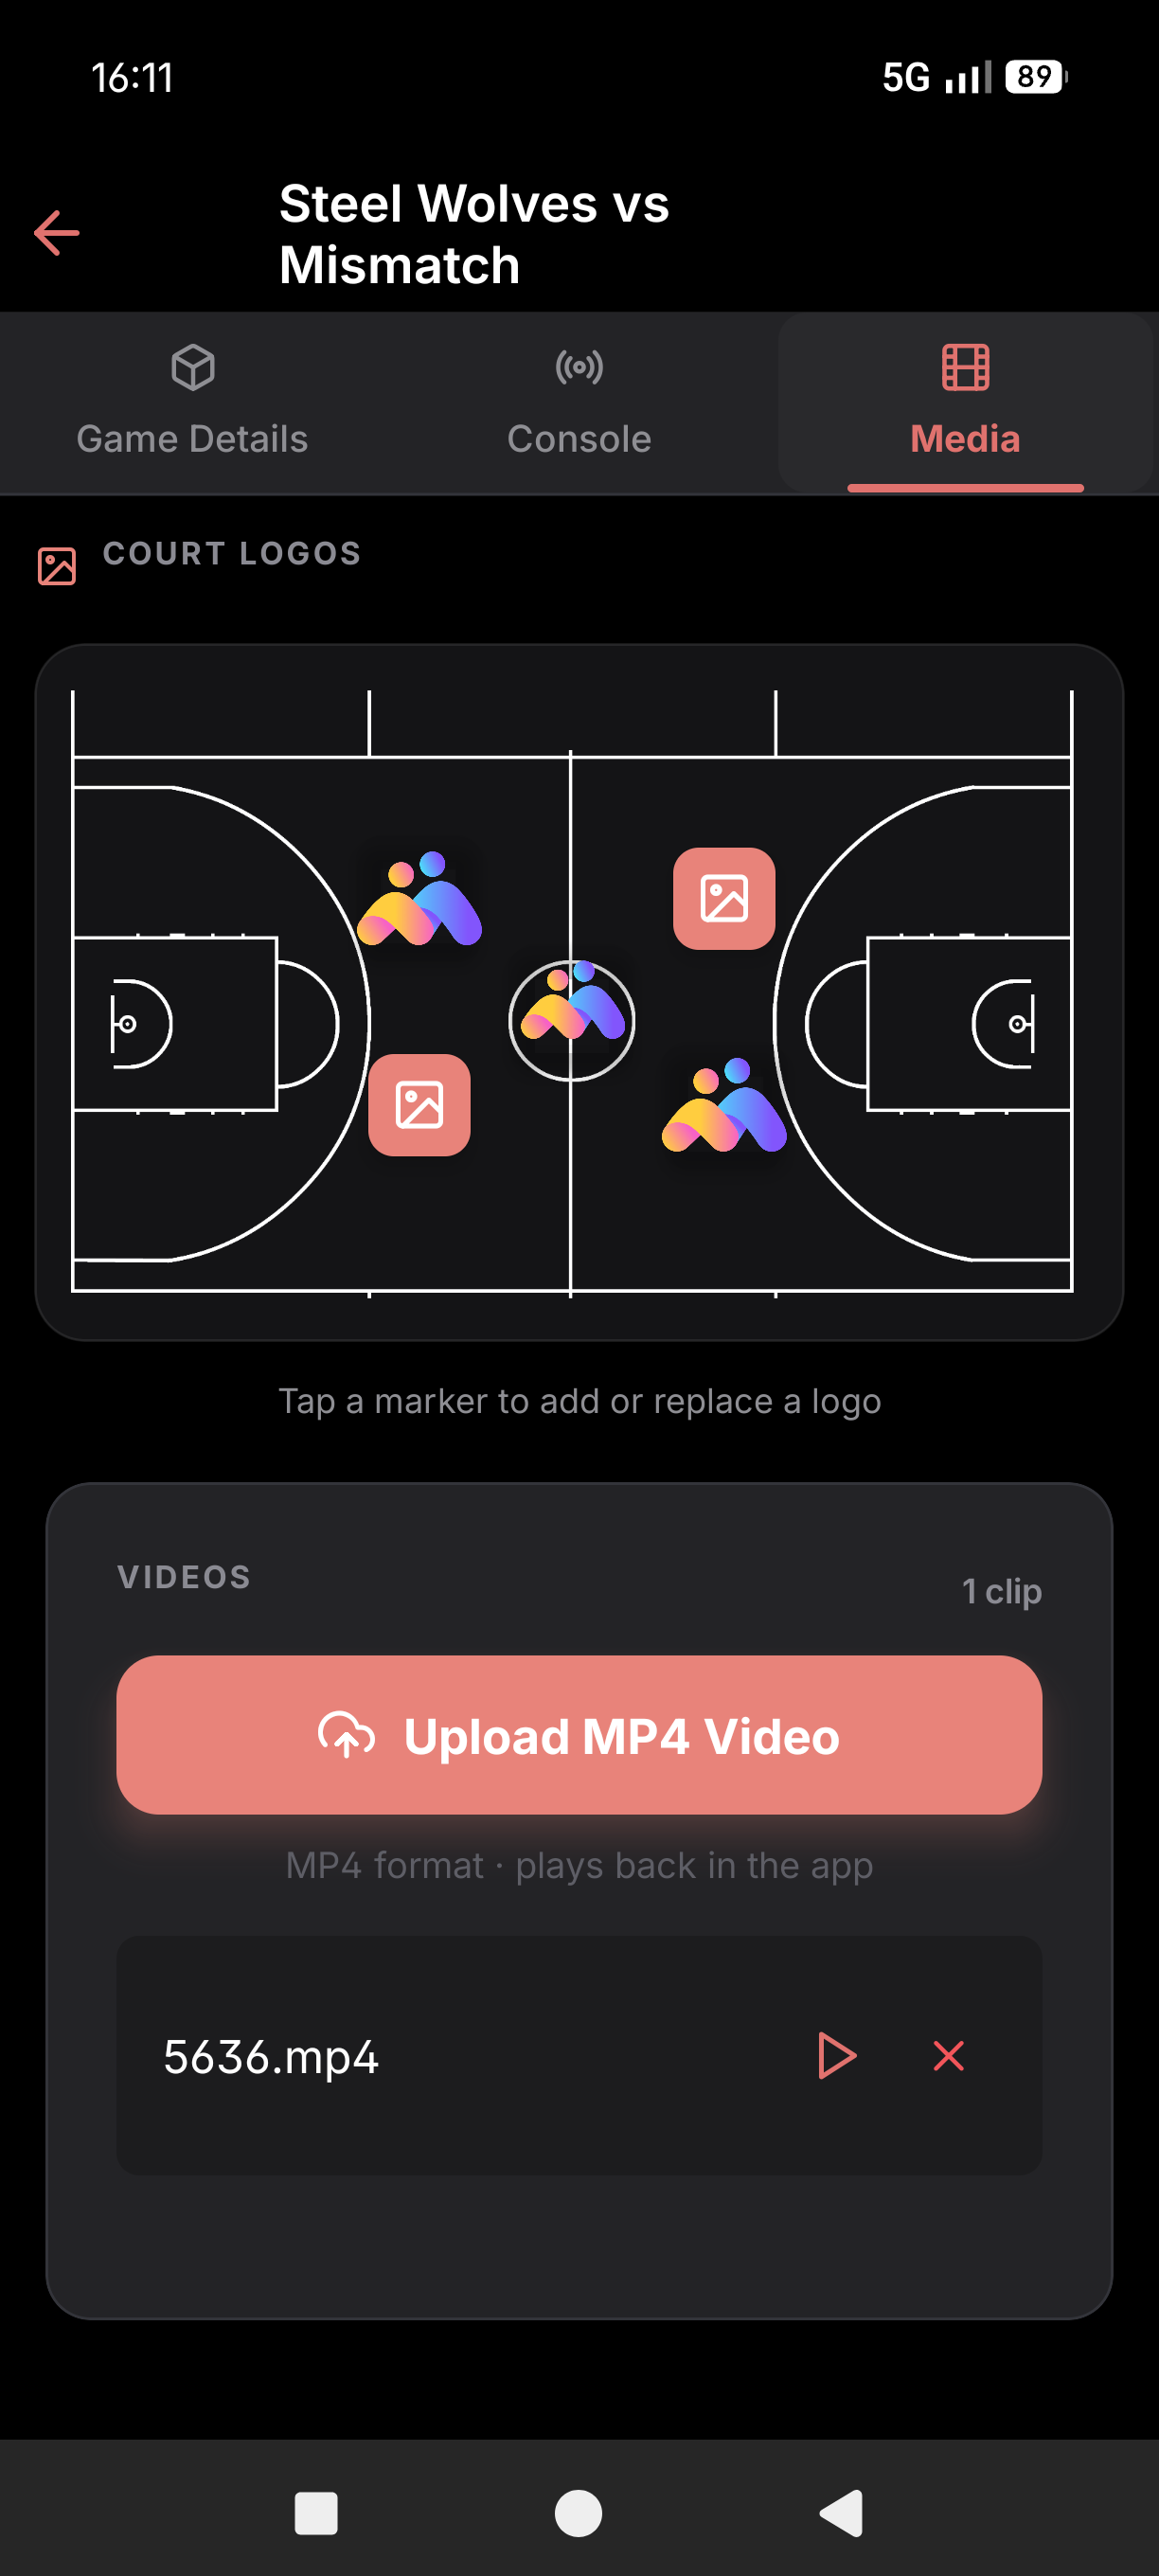
Section titled “Editing During Stream”Use the Media tab in the event details screen to update logos and sponsor graphics while the stream is running. Click the icons on the court image to select which logos to display on the court. On a Pro stream the same tab has the buttons to upload, remove, and play videos.
Keeping Score
Section titled “Keeping Score”On a live or paused Pro stream, the Scoreboard tab lets organisation owners, administrators and the game’s assigned studio operator choose the scoreboard source and keep the score, period and clock by hand. See Scoreboard.
Stopping the Stream
Section titled “Stopping the Stream”Tap “Stop” in the Console tab and confirm when prompted. The stream ends and the recording is saved automatically.